|
 |
 |
|
|
|
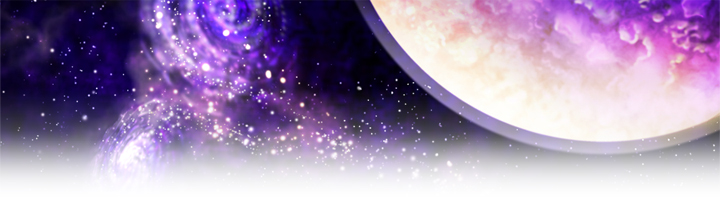
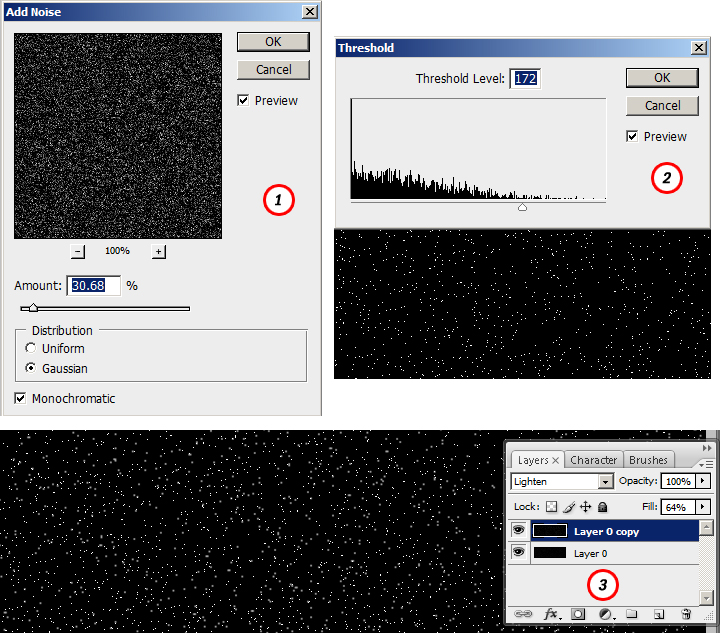
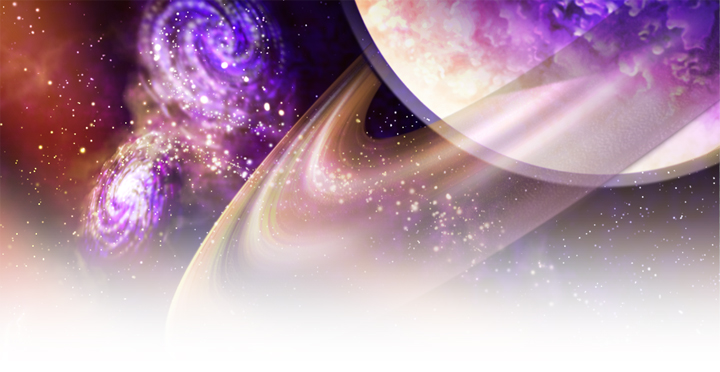
What's more fun than space scenes?! We've come a pretty good ways since Wally Wood's time. The computer programs now offer so many options when it comes to supplementing your line art with color. For this background, I wasn't so much considering what I had previously sketched and drawn out. Instead, I wanted to have a background that might stand on its own as an actual rendered space scene. This would include stars, planets and nebuli. Here's how to do it. For stars, I begin with a blank canvas that I fill with black. Then Noise (1) is added. The amount you choose is up to you. You don't need much to give you the amount that you then apply Threshold (2) to. This will give you those little specks and dots for that starry background. After that, you can duplicate, rotate, reverse and enlarge that layer a bit and then set its Layer mode to Lighten (3).
|
|
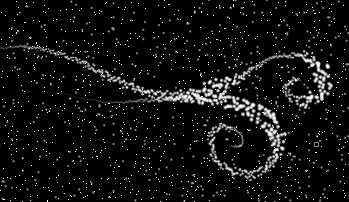
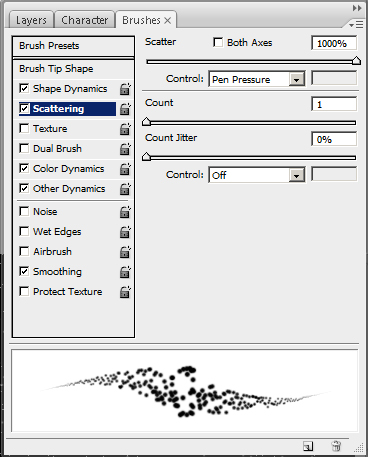
For more character in the stars, like constellations and galaxies, you can adjust the Scatter on your Brush tool setting to give a more seemingly random pattern of dots and specks in a brush stroke. Play with it. A lot of learning is experimentation and retention. |
 |
|
|
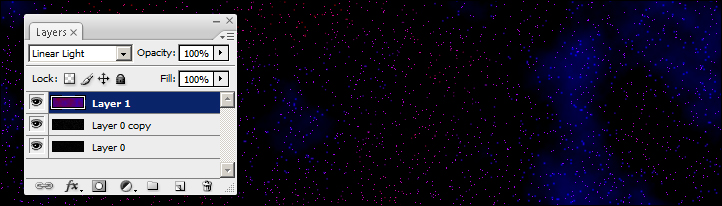
After you've created your stars and constellations, create a new layer by pressing Shift+Ctrl+N. This part is kinda cool. On your new layer, set the new Layer mode to Linear Light. This new layer will saturate your star patterns with whatever color(s) you choose. Try simple gradients to begin with and move on to more intentional patterns from there. |
|
|
|
|
|
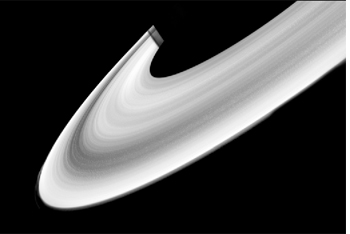 |
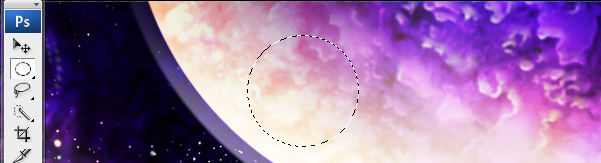
I added rings on another layer. Enter the Quick mask mode by pressing the letter Q. The Quick mask mode is essentially another more directed and intentional method of the selection tools. This turns the screen into two shades: red or clear. The clear portions are what will be your selection when you exit Quick mask mode. So, while in Quick mask mode, render clouds and a radial spin effect at a high setting (you can adjust the brightness/contrast in this mode to have more definition between rings). Then, using Free transform skew, rotate your Quick mask selection to wrap around the planet that was created. You may have to do this a number of times, and again, experiment with it to get the desired effect. |
That's that for the space scene. Live Long and Render! |
|
. |
|
|
|
| Contact | © Theodoro Gomez Jr., All rights reserved, 2010 |